Posts

Showing posts with the label Ktor

Deploy a Ktor App for Free on Railway (No Credit Card)

Image
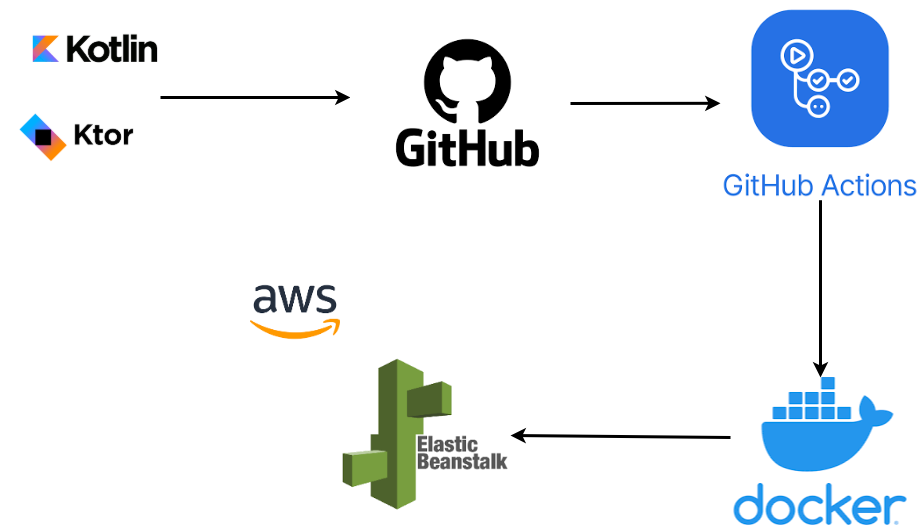
To deploy a Ktor project to Railway(Click here for free registration)  with more detailed steps, let's walk through everything you'll need to do, from setting up your environment to configuring and deploying the application. 1. Prepare Your Ktor Project Before deploying to Railway, ensure your Ktor project is ready for deployment. This includes ensuring the project works locally and is packaged as a JAR file. If you haven't created a Ktor project yet, you can create one using the official Ktor templates or by following the setup guide. Your project should ideally be a Gradle-based project, as this is the most common setup for deploying to cloud platforms like Railway. 2. Install Required Tools You’ll need to install a few tools if you don't have them already: a. Railway CLI: The Railway CLI will make deployment easier. Install it globally with npm: npm install -g railway b. Docker: You need Docker installed on your machine to build and deploy your app. You can download...

Ktor Hello World Example

Image
In the section, we will create a project for Hello Word Example. Step 1: Open Ktor Initializr  https://start.ktor.io/ Step 2: Provide the Project Name We have provided ktor-helloworld. Step 3: Provide the Website name. We have provided the com.knf.dev . Step 4: Provide the Artifact Id. We have provided the dev.knf.com.ktor-helloworld . Step 5: Click on the Add plugins button. Step 6: Click on the Generate project button.  Step 7: Extract the ZIP file. Step 8: Import the project folder When the project imports successfully, it shows the following project directory in the Package Explorer section of the IDE. Project Directory Routing.kt package dev.com.knf.plugins import io.ktor.server.routing.* import io.ktor.http.* import io.ktor.server.application.* import io.ktor.server.response.* import io.ktor.server.request.* fun Application . configureRouting () { routing { get ( "/" ) { call .respondText( "Hello World!" ) } } } Copy Applica...